Tuesday, July 10, 2012

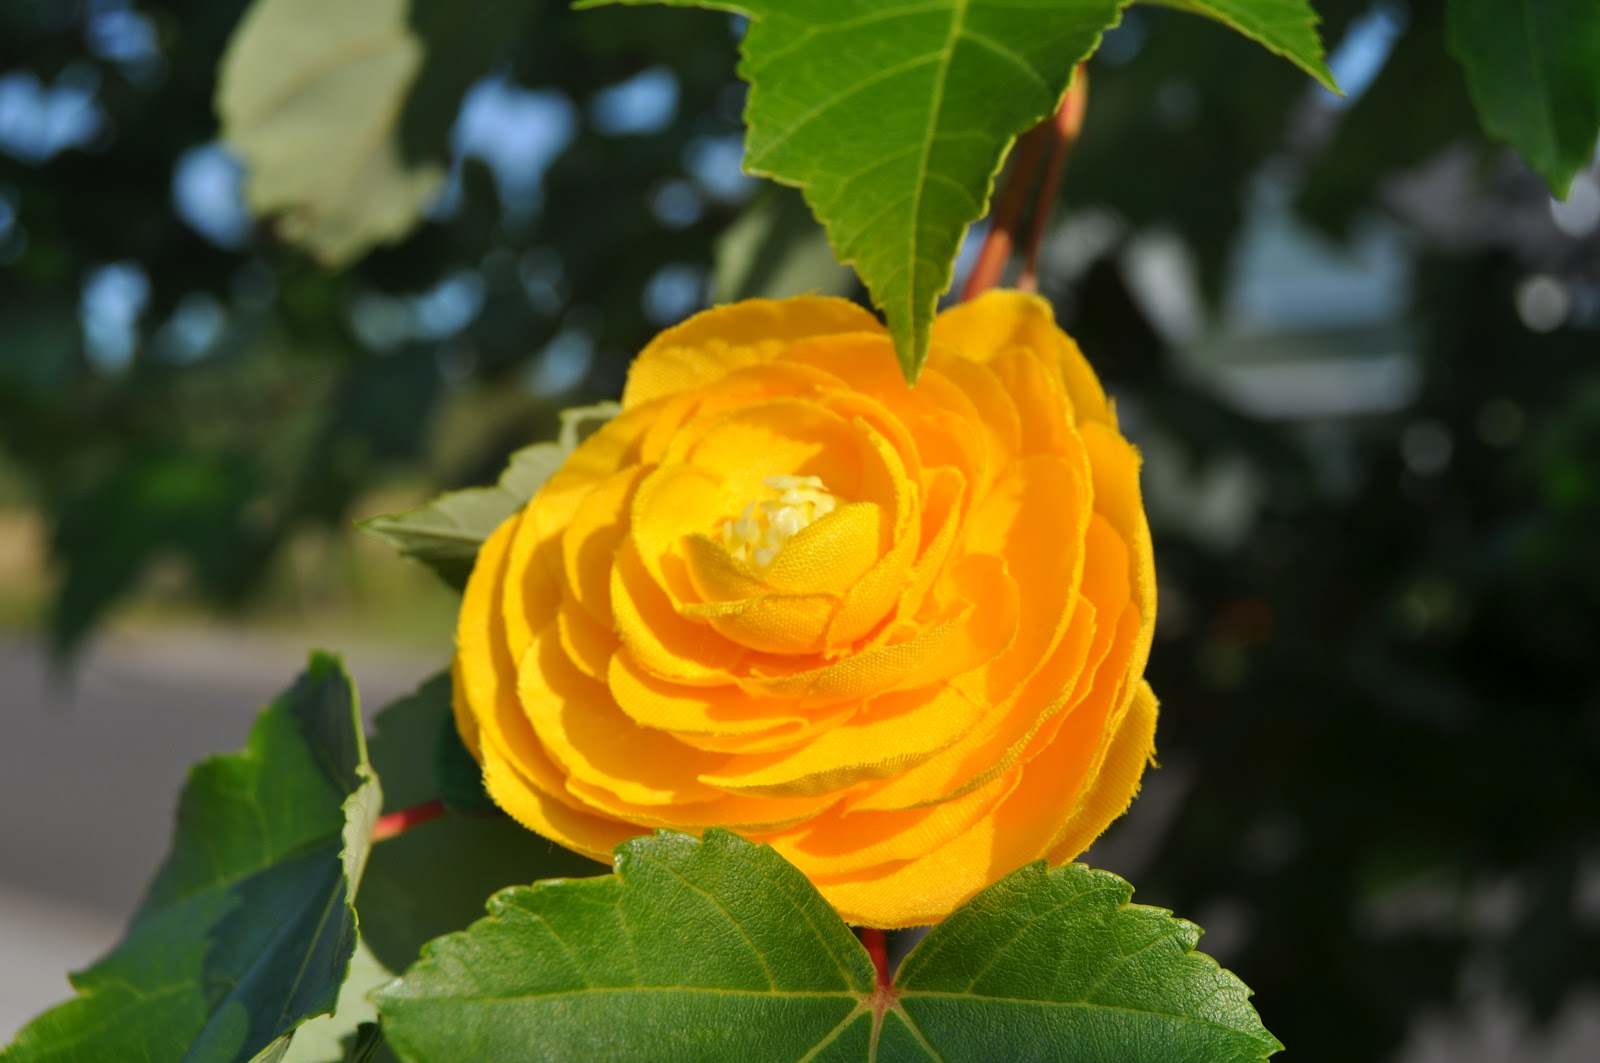
flowers in her hair

The biggest problem with crafting in the evening hours while the babe sleeps is that you tend to finish projects when there is little natural daylight to be had. That is my sad excuse for the two month delay in taking these photos. All excuses aside, flowers are always lovely in your hair, both when the sun is high in the sky and when the twinkles in your eyes are only lit by the glow of a campfire.


This particular project is perfect for when you need a quick accessory or a speedy outlet for your creative juices.


Materials needed:

hot glue gun
spare glue sticks
alligator two-prong metal hair clips
felt or 1 cm ribbon
cardboard cereal box
silk flowers or other decorations


1: Place the hair clips around the cardboard to protect the bottom from the hot glue.

2: Trim a piece of felt (or ribbon) to the width of the hair clip and glue it to the top of the hair clip. Start with the end of the clip (where you grip it) wrapping the felt around the edge.

3. Trim the excess felt off.

4. Arrange your decorations, being sure to angle the flower so that it will point the right direction when it is in your hair.

5. Glue your decorations to the felt-covered side of the hair clip.

6. Let cool, peel the cardboard off, and add to your hair.


Between all the laundry, fabric store drooling, grocery shopping, and Pinterest pinning that we spend our time doing, sometimes we need to stop planning a future project and just do something today. If you find yourself in that boat, let this be your project!

Thursday, June 21, 2012

Beautiful Things

Hiking with my family doesn't happen often enough.  This last weekend we drove out of town and went exploring a new area.  The hike was challenging although it was only 1 and 1/2 miles up to the top.  We are out of shape...boo.  However, the area we hiked was so stunningly gorgeous it felt more than worth it. 


As you know by now this is a craft blog, and lately I've been really struck with the question, why do I do this?  Why am I compelled to create things?  There are quite a few reasons I can come up with, and I don't want to scare anyone off by sounding a little philosophical here, but I truly believe that the joy I get from creating is a gift from my creator.

The one who created this  


And this


 And this


I am thankful for the gift of creating and even more thankful for the beautiful things in my life that put my creations to shame.  And I am most thankful for the beautiful thing that is being made of my life when what is often in my heart is so, not, beautiful.  

This song has been running through my head today and you will not be sorry if you listen to it :)


Elizabeth

Thursday, June 14, 2012

Money in the Bank


My little guy and I were given homework after his last Dr.'s appointment.  Since he is not even a year old you may wonder if my son is freakishly smart.  Although I think he is very smart, we are not memorizing U.S. Presidents or anything that outstanding.  His doctor actually gave us a list of problem-solving activities to do which includes playing "Money in the Bank".  The form suggested cutting a slit in the top of an empty container and giving him juice can tops to put into it.  Booooring, and we don't drink that much juice.  The last time I made him a home-made toy I literally stabbed a couple of holes into a wipes dispenser, and threaded some yarn through the holes.  He loved it!  But this time I wanted to come up with something a little bit cuter...


A rice cereal canister works well.  I saved them knowing that they would be handy for something.  I put together a little tutorial in case you would like to make one too.

Materials:
Canister with removable lid (any that you have)
Felt (white for the backing) (various colors for the money)
Fabric
Coordinating thread
Hot glue
Stitch Witchery
Embroidery Needle & Decorative thread (optional)
Cardboard (e.g. cereal box....)
Exact-o knife


Directions:


Using pieces of string, yarn, or a flexible measuring tape, measure the height as well as the circumference.  Measure the height of the canister with the lid on in order to allow for the lid to close!  Cut a piece of felt to your measurements.  Then cut a piece of fabric slightly larger (I added 1 in. to the height and 1/2 in. to the circumference measurement).


Next, cut a length of stitch witchery the same length as the fabric.  Cut the stitch witchery in half lengthwise.  Center the felt on the wrong side of the fabric.  Place a piece of the stitch witchery along one edge of the felt and fold the fabric over.  Making sure that the fabric is completely covering the stitch witchery, follow the instructions on the stitch witchery package to set the seam.  Repeat with the other side. 


When both edges are finished flip the piece over and iron it flat. 


Cut letters out of your coordinating colored felt.  It helps to cut rectangles that are the basic size you will want your letters to be, and then cut the letters from those rectangles.


Attach the letters with hot glue.  Watch the fingers!


Get creative if you'd like and embroider the letters!

Make a line on the canister where the lid ends.  Then remove the lid.  You will use this line to guide your fabric placement.  If you let your fabric go above the line, your canister will not close (and that would be sad!). 


 Hot glue straight up the side.


Press the left unfinished end of the fabric onto the hot glue.


Use more hot glue on the canister to attach the rest of the fabric.  Turn under the other unfinished end and carefully hot glue it to create a nice finished edge.  I chose to take a few extra minutes to slip stitch the edge as well, since my little guy is very tough on toys.

Using an exact-o knife cut a slot into the lid.


You can't have the bank without coins.  Cut 20 same size circles from a cereal box with some heavy duty scissors.  Make your circles about a half inch in diameter less than the length of the slot to allow room for the felt covering.  To make it go faster I accordion folded the cardboard and cut out several at a time.  Don't worry about being too precise. 


Hot glue a stack of 4 circles together then cut out a rectangle of felt, large enough that it can be doubled over the circles and have plenty of room around it for sewing. 


Using your sewing machine, zig-zag stitch or regular stitch around the edge of the cardboard circles.  Cut off the excess felt.

Make 4 more!


If you want, cut out numbers 1 through 5 and hot glue them to the "coins". 


My son loves his bank and has gotten so fast at putting the coins in I need to make more!  Happy playing!

Elizabeth


Tuesday, June 5, 2012

Shower Favors - potted flowers

 There are a lot of shower favor ideas out there, but I wanted to share one of my favorites.


My mom and I put these little zinnia pots together for a baby shower I co-hosted.  We found the plants at our local hardware store along with the little pots that you can plant right in the ground.  At the craft store we picked up the ribbon and labels.  Lucky for me, my mom is great at calligraphy and labeled all the tags for me!  (I don't have the best handwriting)  


I am also a fan of little silver tins!  

Ah, beauty!

Elizabeth

Monday, May 14, 2012

monkey-ing around

Isn't Pinterest great? For those of you who are not yet pin-makers, Pinterest is an online pinboard where you can create a virtual collage of all things beautiful and noteworthy. (If you would like an invitation, shoot us an email.)

A few Saturdays ago my sister pinned a photo of a particularly cute sock monkey (found here) and gave it the caption, "Stuff my sister should make for me." Later that morning, the boy and I went to Goodwill to look for treasures and they had a sale on (new!) socks: 4 pairs for a dollar. My head said, "Cha Ching!" I bought four pairs, and considered it a dollar well spent. (I actually bought more things then just that, but I will save the other projects for later posts.)

When we got home, the boy took a nap and I whipped up this little mono.


The tutorial (found here) was fantastic, especially the tips for stuffing the tail of the monkey.

I popped her into a shoebox and she flew up to Washington for my sister. She was surprised.


Unfortunately in all my excitement, I forgot to take any pictures. Amy was very kind and took several shots. Her pictures are way better then any I would have been able to take. Photography is one of the skills where I have lots of room for improvement. I would mail her all my projects so that she could photograph them, but that could be expensive, especially if I made a 7-foot still life titled, "A study in lead."


My nephew loves the "Kitty" and likes to swing her around by her tail. She also is a cheerful Attack Monkey, flying across the room with style.


It was an afternoon well spent.

Thursday, April 26, 2012

Toddler Art Smock

I recently whipped up an art smock for a little family member turning two.  Lately I had been looking for a use for this great oilcloth fabric by Amy Butler.  My mom had given me a few scrap pieces leftover from a highchair cover that she had made.  In theory oilcloth should make art clean-up a breeze, only requiring a simple wipe down, but I can only imagine the kind of mess that can result from a kid with paint!

I based my art smock off of a pattern in "One Yard Wonders", but had to alter it to make it work with the amount of fabric I had.  I also changed the pocket in the front, and made my own bias tape out of a different Amy Butler fabric I had on hand. 


Working with oilcloth turned out to be a bit of a challenge.  I had heard that your sewing foot can stick to certain fabrics, and boy did that turn out to be true!  I didn't have too much time to fuss with getting the stitching just right, but I do have another project to work on - learning how to sew with oilcloth!  Maybe another topic for Sewing Tips? 


Elizabeth

Tuesday, April 17, 2012

Sewing Tips: Cutting Fabric

Cutting fabric can be such a pain!  Recently I have been working on a project that involved a lot of cutting. .  I actually had been avoiding the project for several months because the amount of fabric I had to cut felt daunting.  By the end I had improved my technique and realized it had been excellent practice.  The process also took way less time than I had imagined.

Everyone has their own way, but I am always a fan of using my rotary cutter when I can.  Here are some cutting tips to hopefully inspire you to start on that new project you've been avoiding. 

Step 1:  Turn on some jams!
Nothing inspires me to get working more than some fun music.  What does your mood tell you?  Calming Bach, jazzy Ella?  Thanks to my childhood, one of my favorite "pump-up"  musicians has to be blues rocker Stevie Ray Vaughan.  

Step 2:  Press the fabric
When I cut fabric, especially large pieces, it is a good idea to press your fabric before cutting.  This is especially true when working with cotton.  Too many wrinkles can really hinder an accurate cut, and just making the job plain annoying.  So do yourself a favor - break out your iron - you'll be happy you did.

Step 3:  Assemble your tools
A cutting mat, a ruler, a rotary cutter, fabric weights, and fabric scissors are all great items to have available.


Step 4:  Line up your fabric
Use the grid-lines on your cutting mat and your fabric weights to keep your fabric in place!

Step 5:  Measure twice - Cut once!
I don't know where I heard this old saying, but it is so true!  Better to take a little extra time lining up your ruler and double checking the measurement, than to waste money and time by making mistakes.

Step 6:  Enjoy a job well-done :)
What is more satisfying than freshly cut stacks of fabric bursting with potential!  Time to create!


 Improvise your own fabric weights using large metal washers wrapped with fabric or glass jars filled with something fun!


Share your cutting tips with us!